App: Creating and Emailing an Invoice
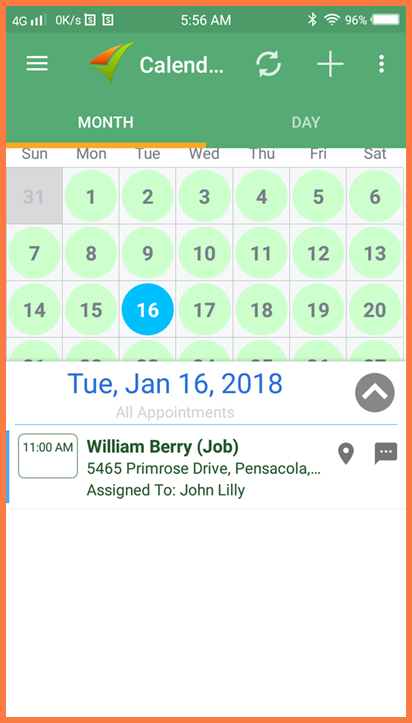
Creating and sending invoices through the app is easy peasy. First you need to log in to the app, go to calendar and for this example we will have William Berry. Click on his name.
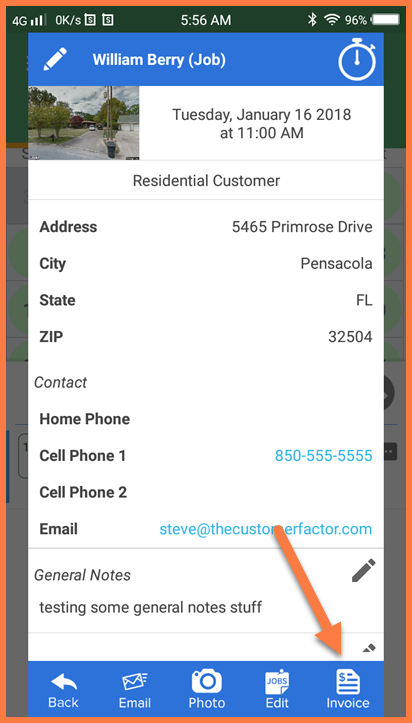
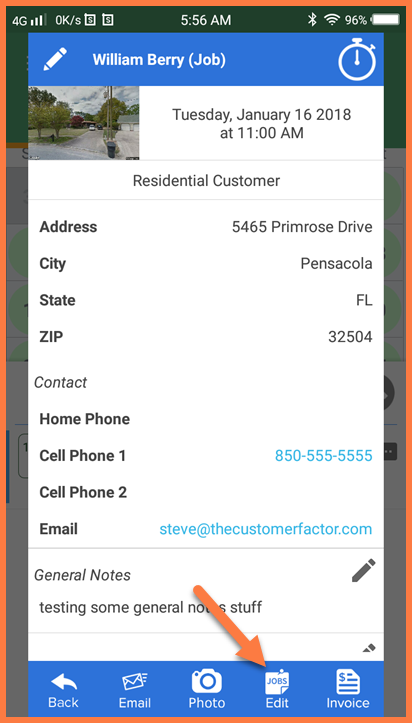
You will now get the appointment screen where you can see client's information and job details. At the bottom right of the screen is where you can see the "Invoice" button.
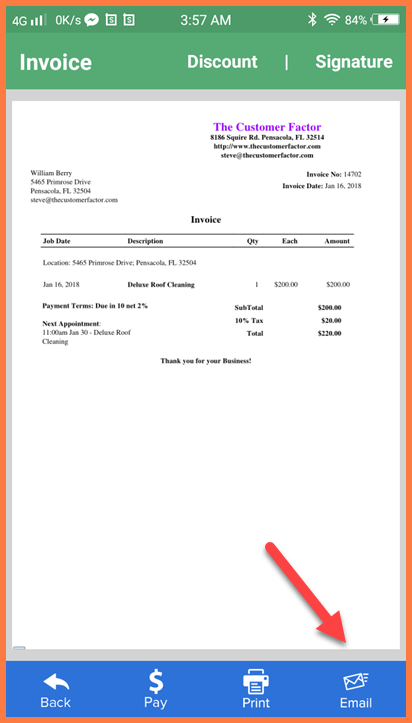
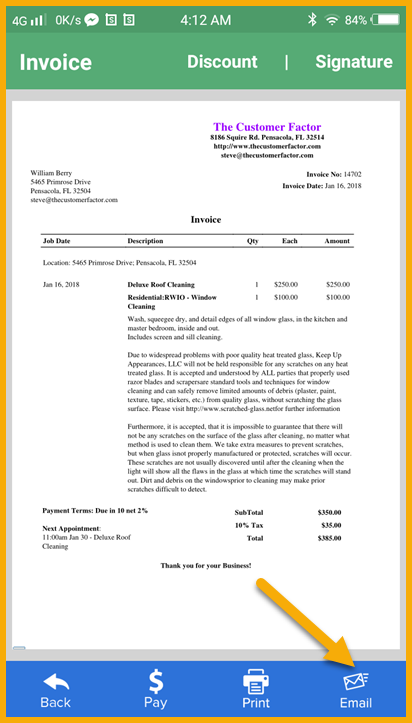
As soon as you click on that, your invoice is automatically generated. And from this screen you can email the invoice to the client by clicking the "Email" button at the bottom right of the screen.
Next is to press "Send" button at the upper right of the screen.
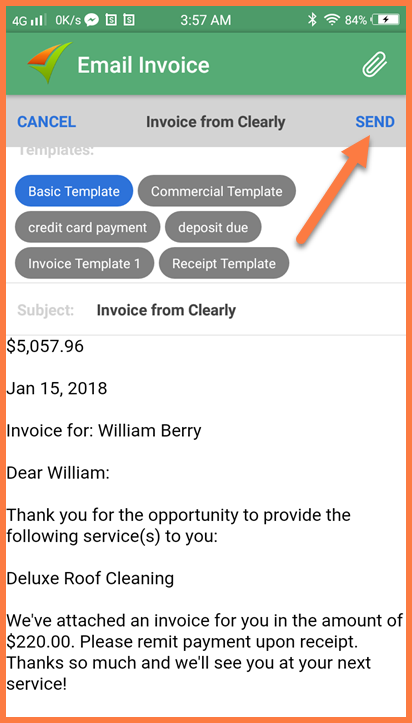
And the invoice will go straight to your customer's inbox, easy right?
ADDING A SIGNATURE
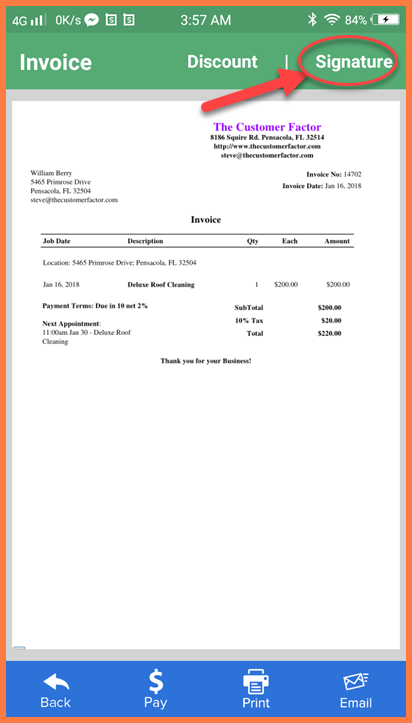
Prior to sending the invoice you will have the option to add a signature.
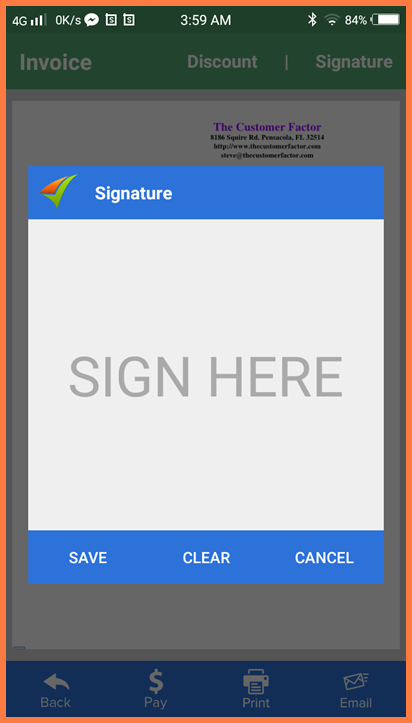
After clicking "Signature" button, you will get to this screen where you can enter your signature by writing it on your screen and clicking save. How cool is that.
ADDING $ DISCOUNT OR PERCENTAGE
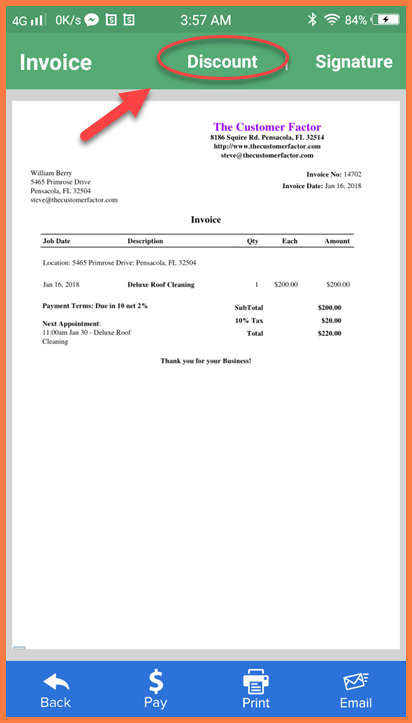
Aside from adding your signature, you can also add a discount from the invoice screen, just click the "Discount" button.
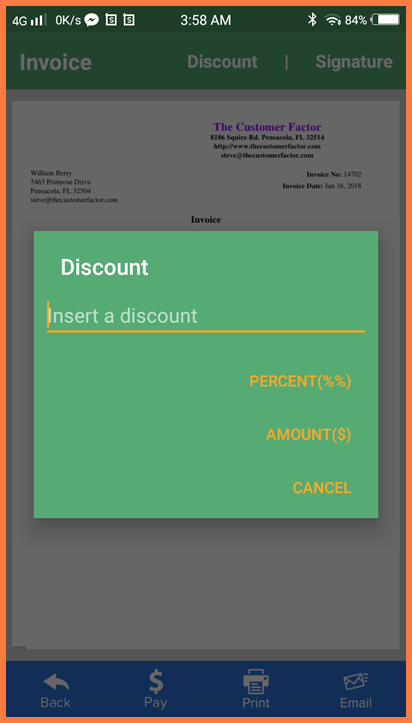
You can then enter the percentage or dollar amount you want to include in this invoice.
EDITING INVOICE
If you need to make changes and modification to your invoice, you can easily do that by clicking the "Edit" button from the appointment screen.
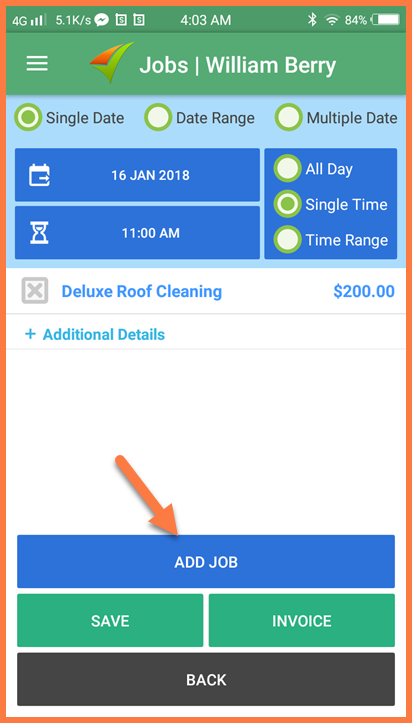
You can then add another job, price, or assign the job to another tech. Please see screenshot below.
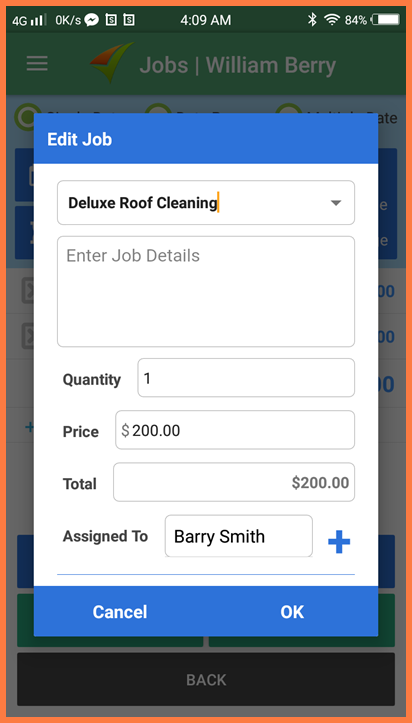
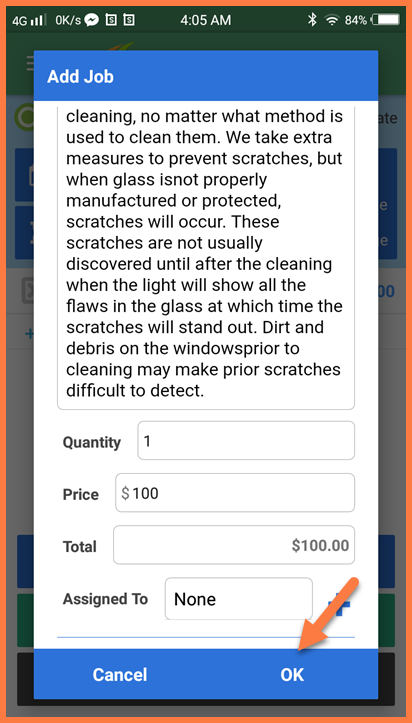
You can then click "OK" after entering the details of the job.
You will now see both jobs in this screen. Click "Save".
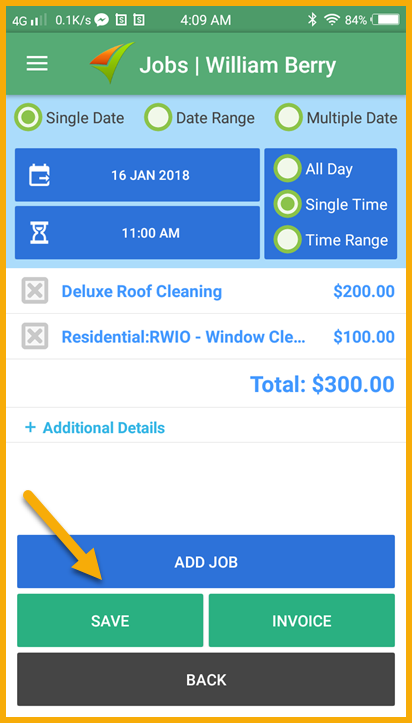
In order to create the invoice for both jobs, click the "Invoice" button at the bottom right. And you can now send the invoice to your customer by clicking "Email" button.
And the invoice will now go to your customer's inbox.
Best Regards,
