Creating Invoice
Access the Customer Screen
Go to the Customer screen and select the customer that needs the invoice. You can either click on the number of customers to display the full customer list, or use the Search option to type in the customer’s name for quick access.
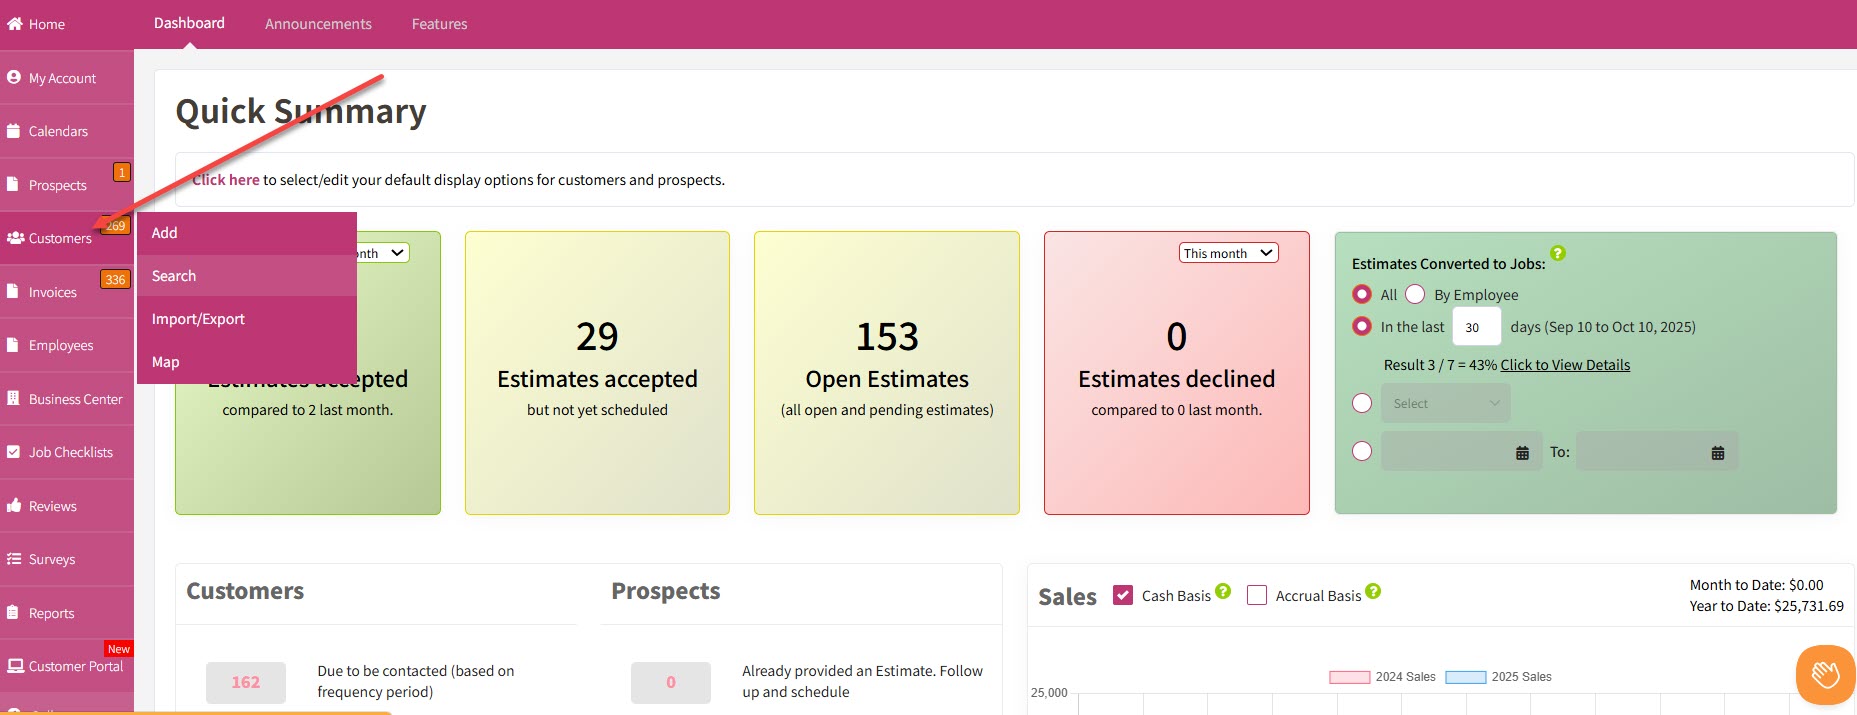
Add a New Customer (If Necessary)
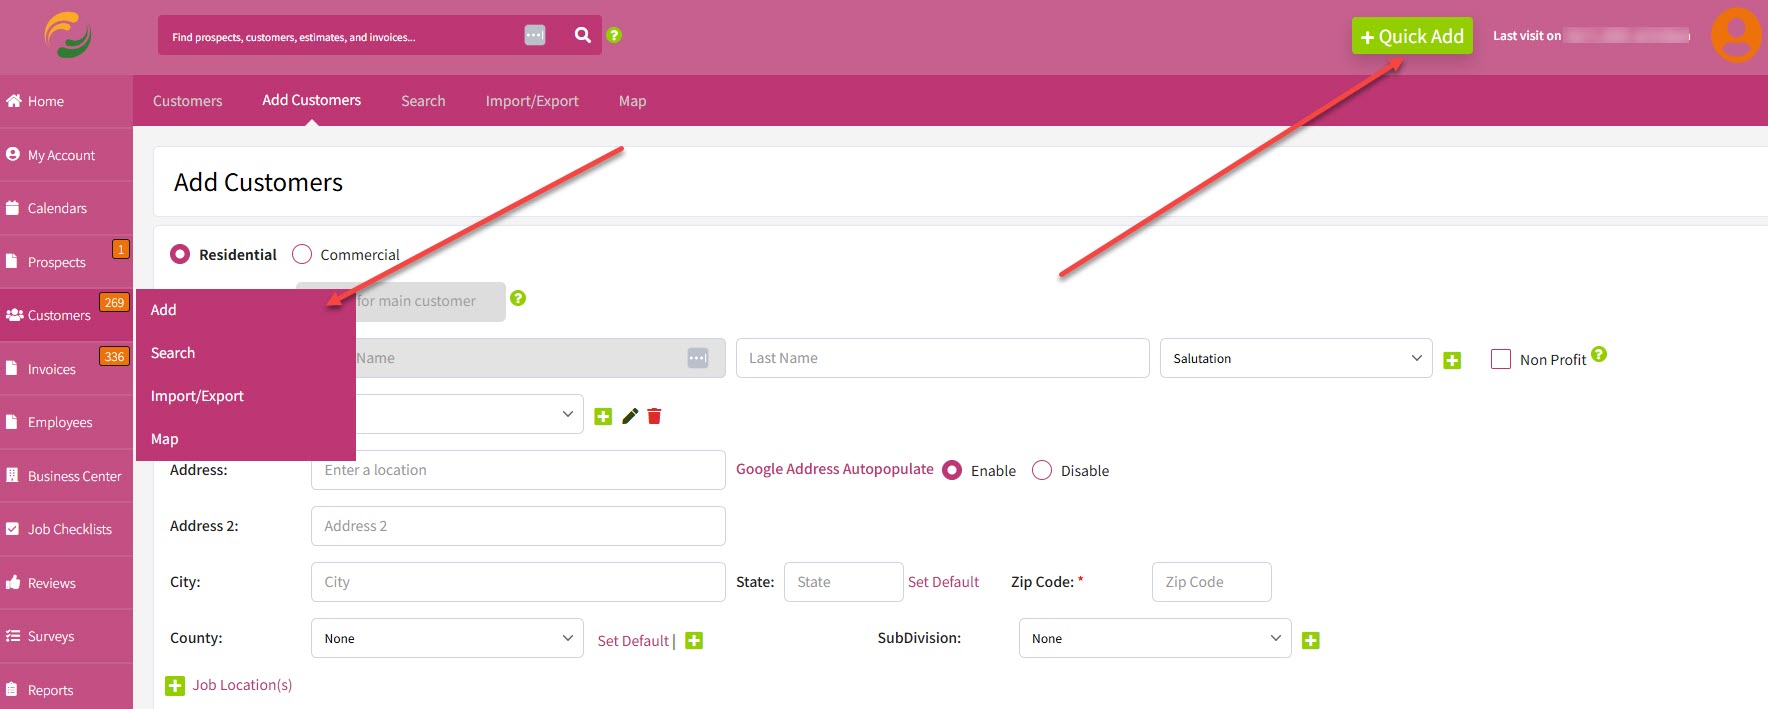
If this is a new customer and their details are not yet in your list, you can first enter their information by clicking Add or by using the Quick Add window located at the upper right side of the page. This ensures that all necessary client information is recorded before proceeding. Before entering client details, make sure to select whether the client is Residential or Commercial. This classification helps organize your customer data and ensures that the correct billing and service information is applied.
Schedule the Job
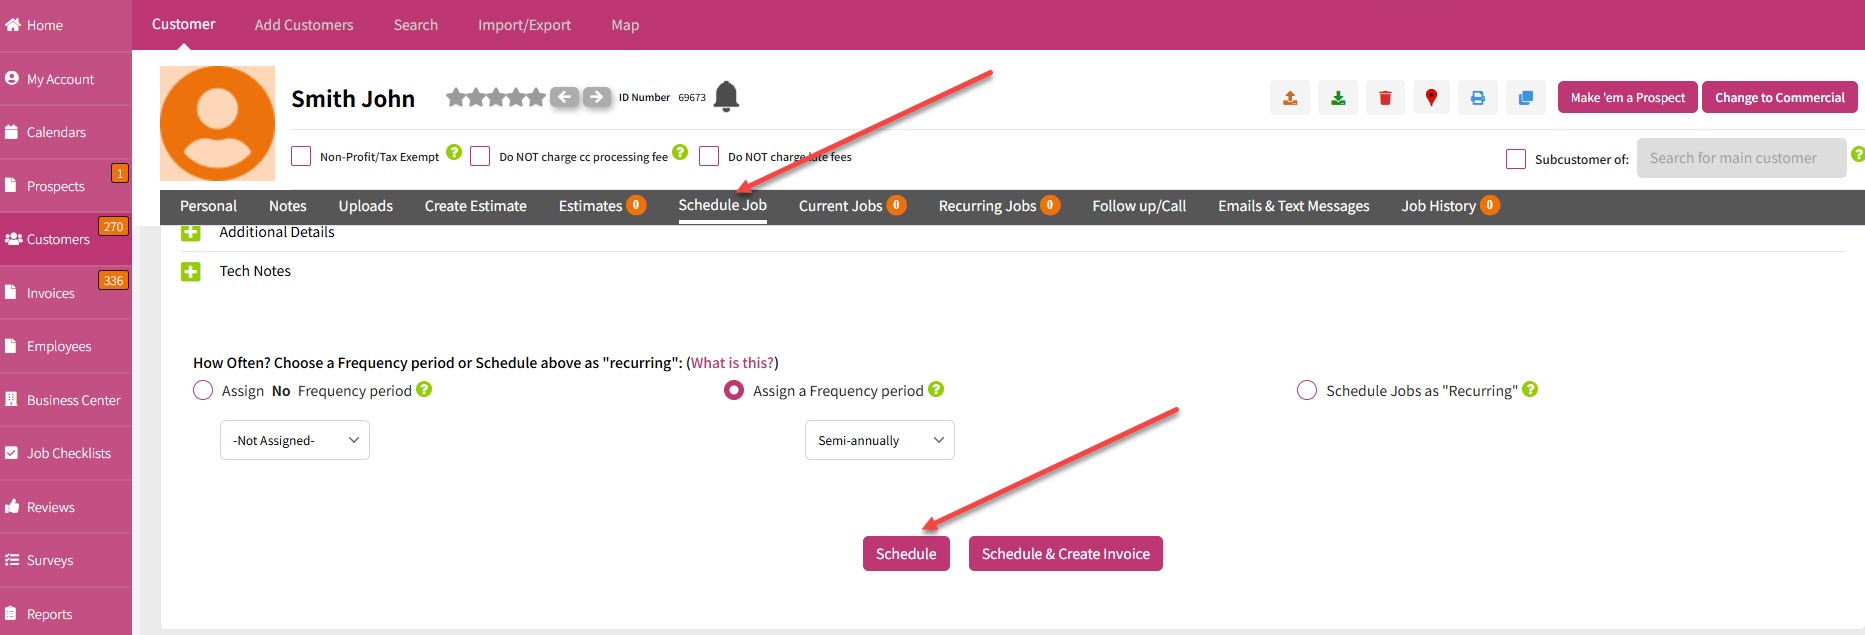
Next, go to the Schedule Jobs section and click Schedule after entering all job details. This step assigns the task to your schedule and links it to the customer’s profile for future invoicing.
Review Scheduled Jobs
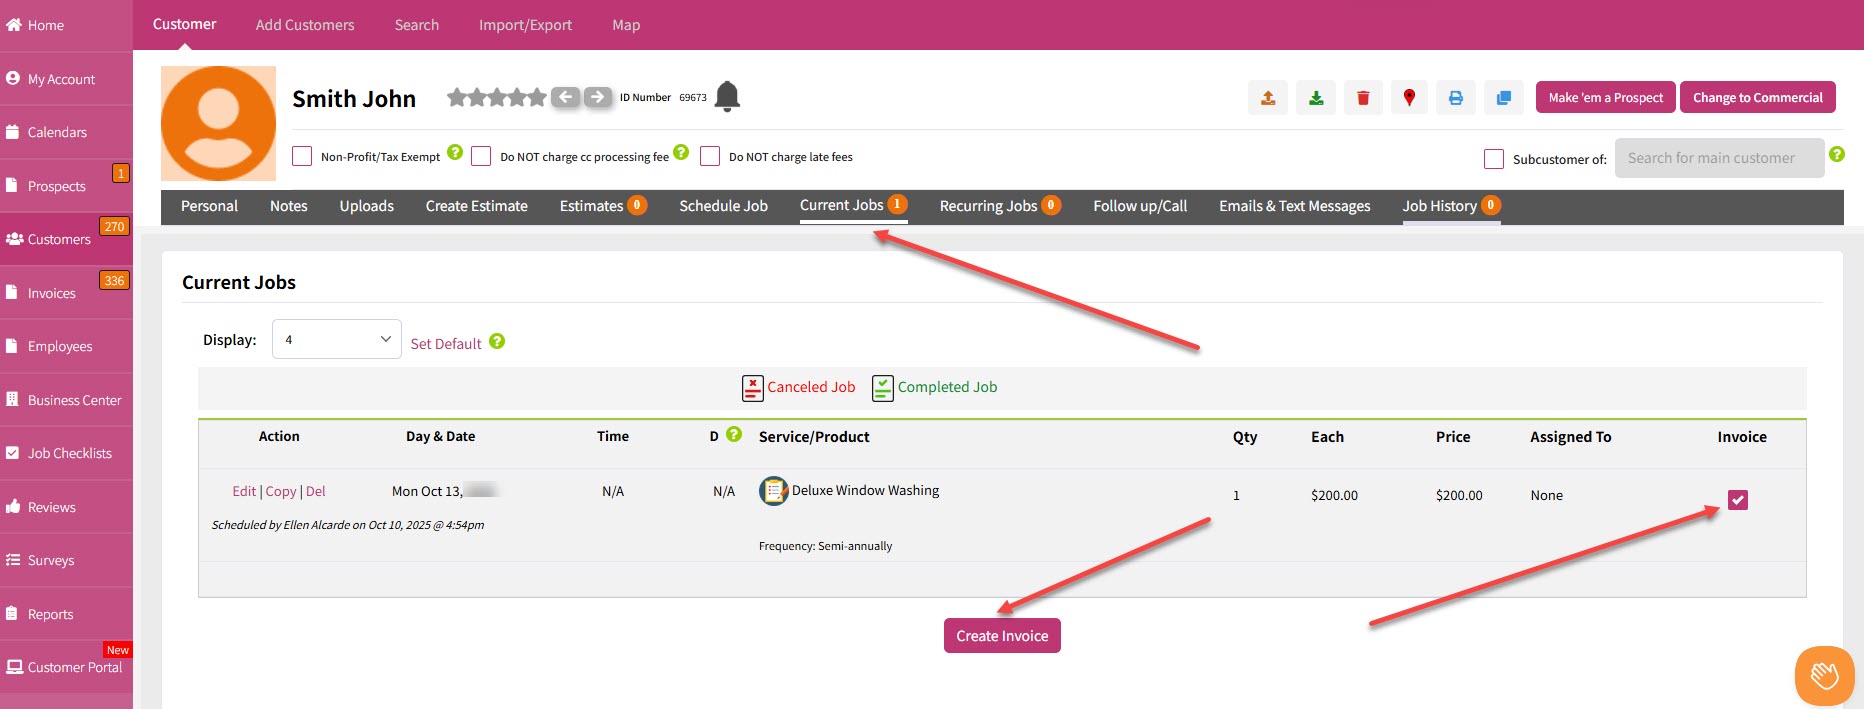
The newly scheduled job will now appear in the Currently Scheduled Jobs section. Be sure to tick the checkbox under the Invoice Status column on the right side of the page. If there are multiple jobs that require invoicing, select each one and then click Create Invoice.
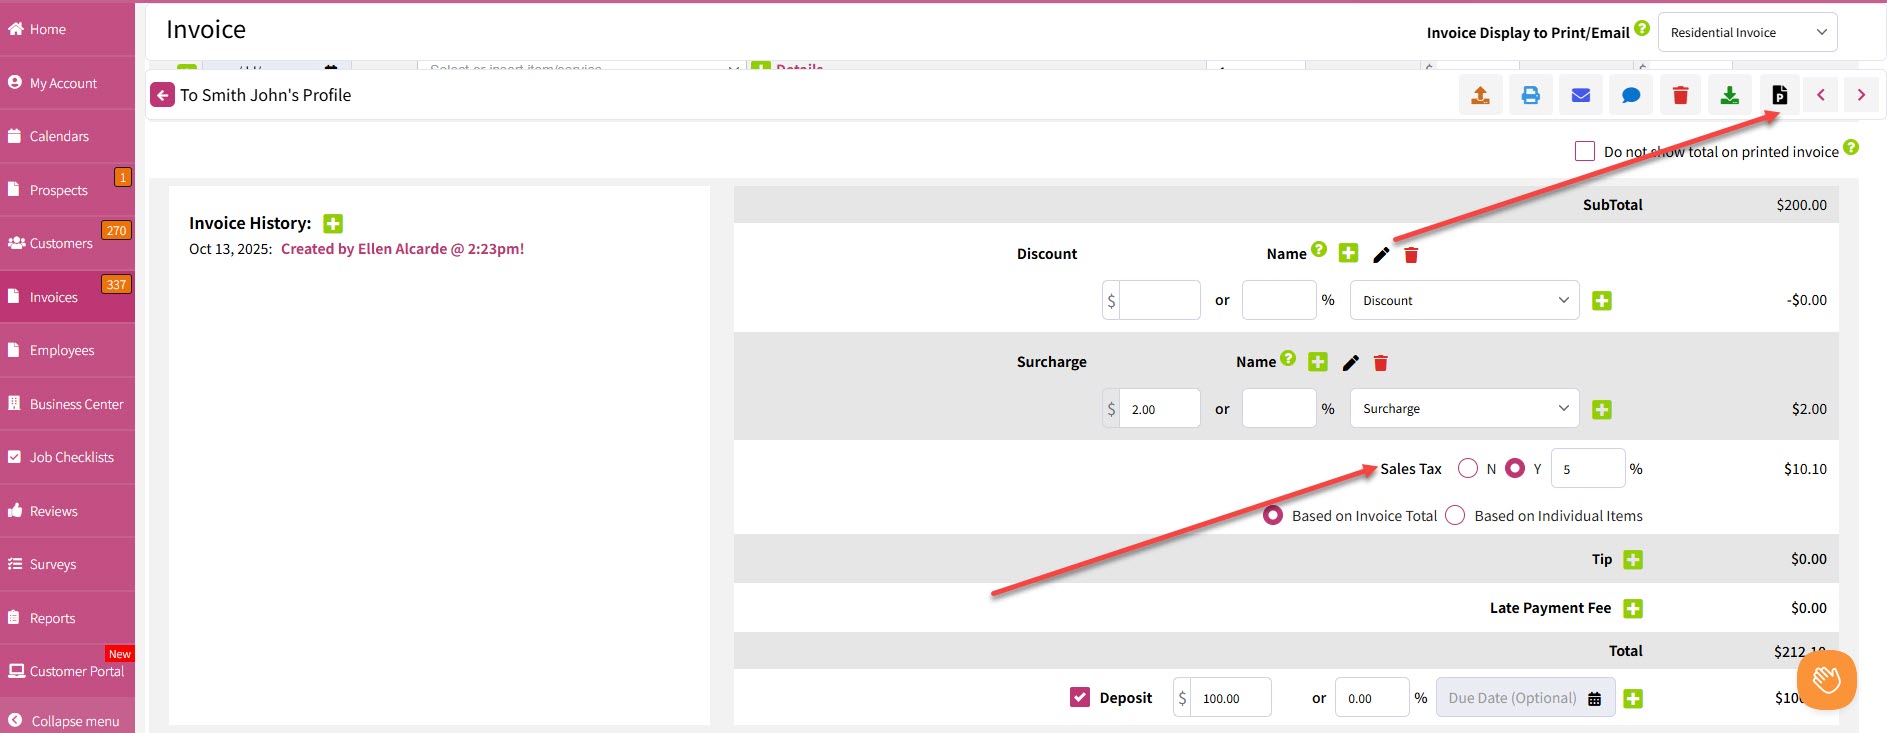
Set Up the Invoice
You will now be directed to the Invoice screen. Before proceeding, decide whether you want to include tax in the invoice. If yes, select Yes and enter the tax percentage in the space provided. This will automatically adjust the total amount due.
Proceed to Payment
After confirming the total amount, click Pay Invoice located at the top of the screen. This will take you to the Payment Information screen where you can begin processing the payment. You will then be asked whether the client is paying the deposit, the full amount or making a partial payment. If the client pays the full amount (e.g., $212.10), select Full. If it’s a partial payment, select Other Amount and enter the payment amount (e.g., $100). For this example, the client will pay $100 using a credit card.
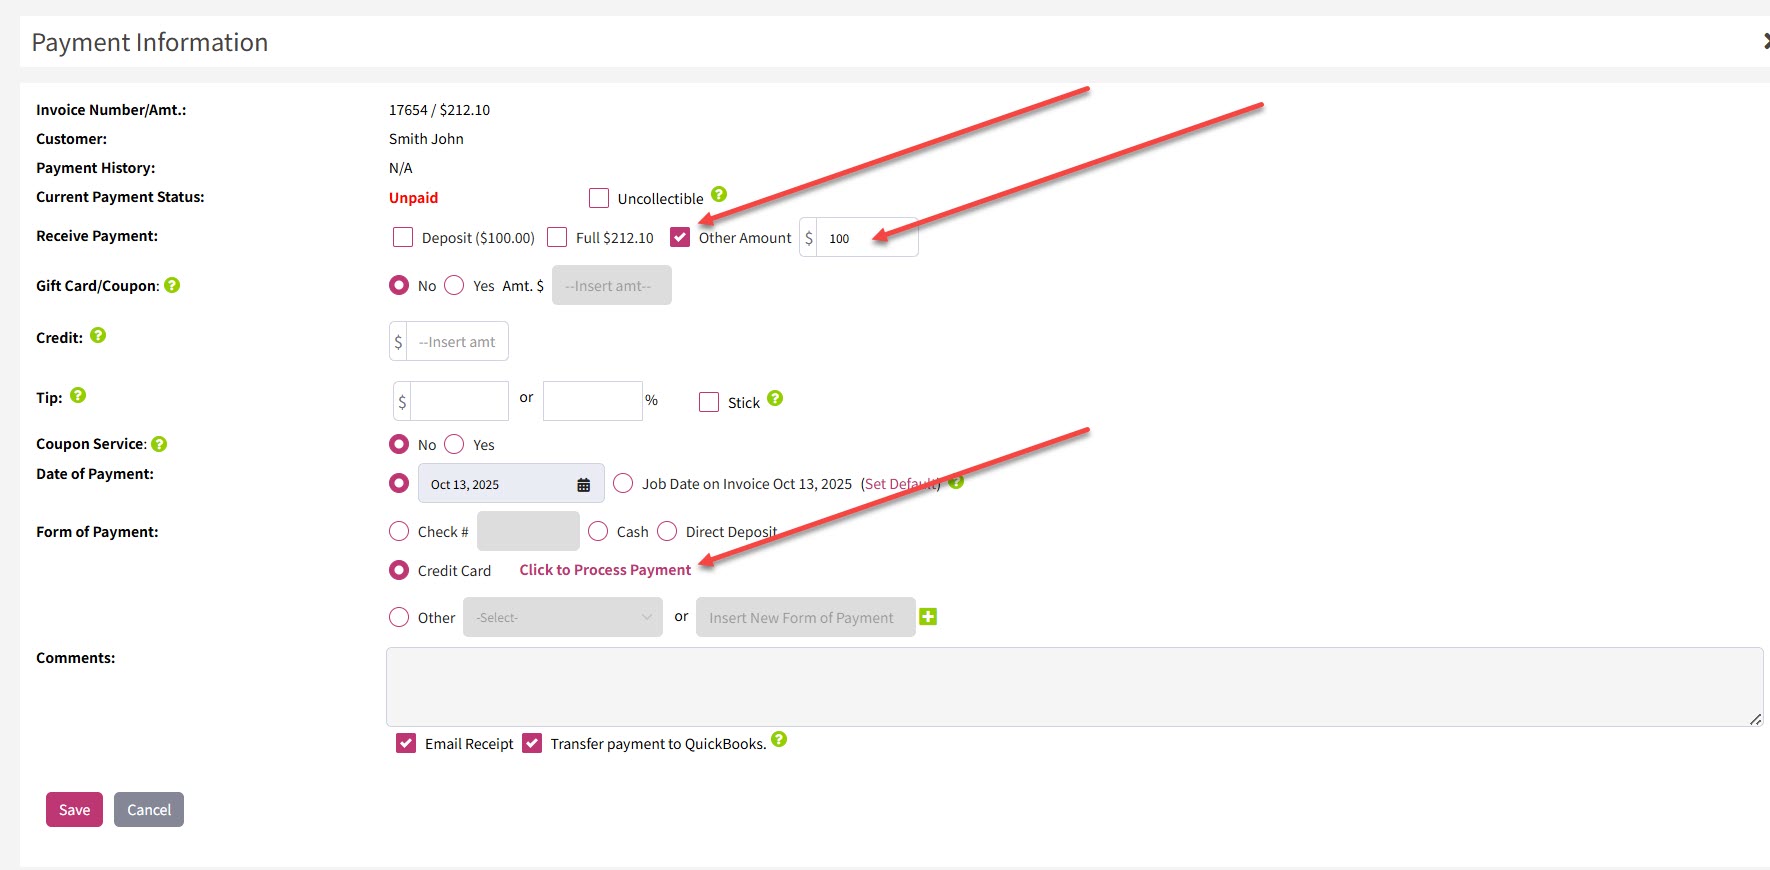
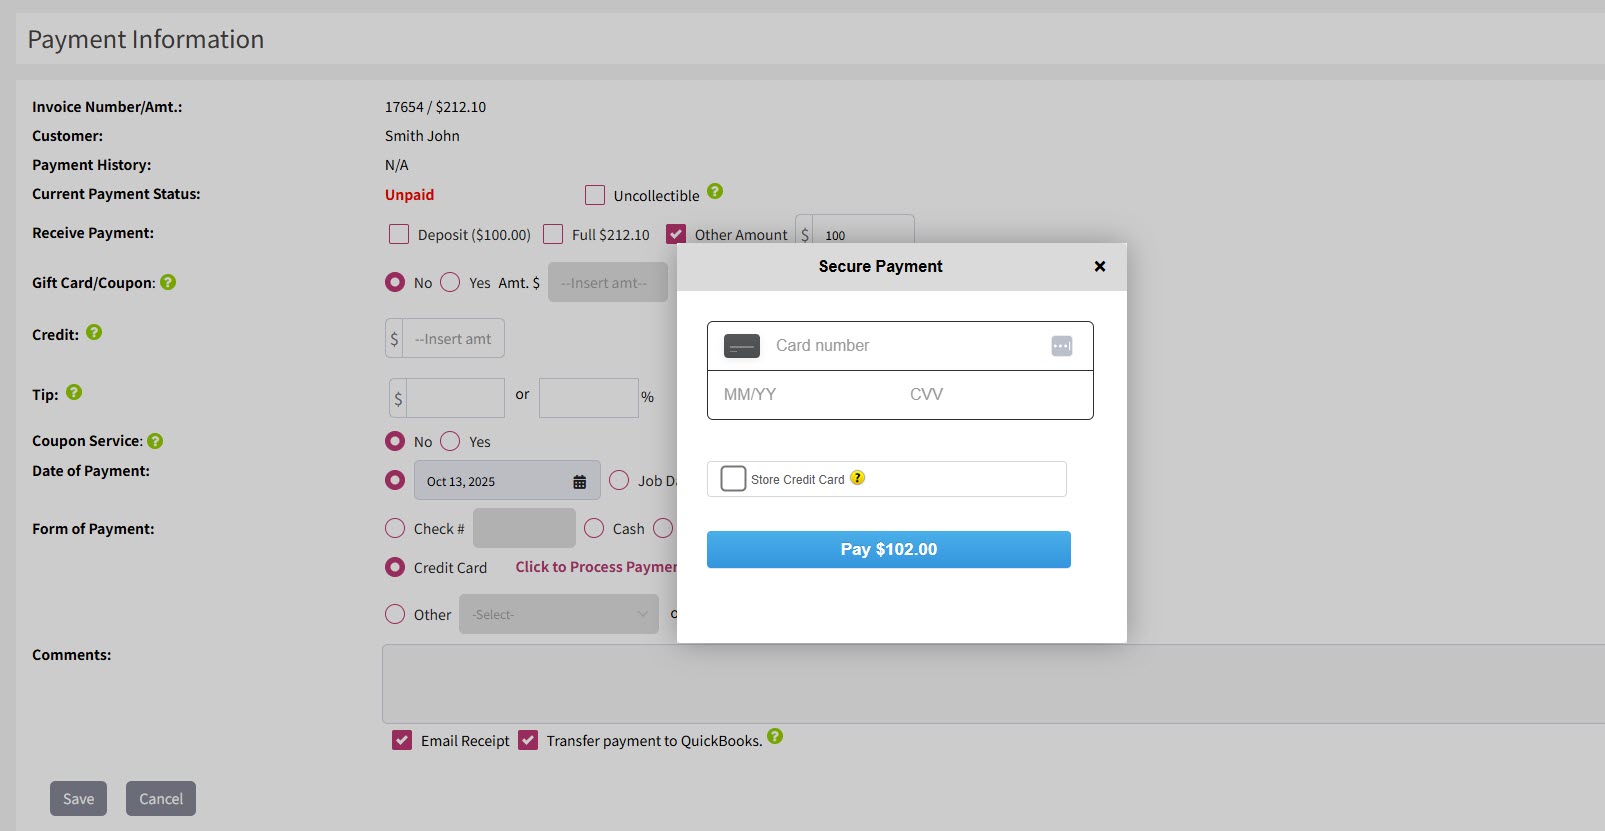
Complete Credit Card Payment
To process the credit card payment, select Click to Process Payment. This will open the payment gateway where you can complete the transaction securely.
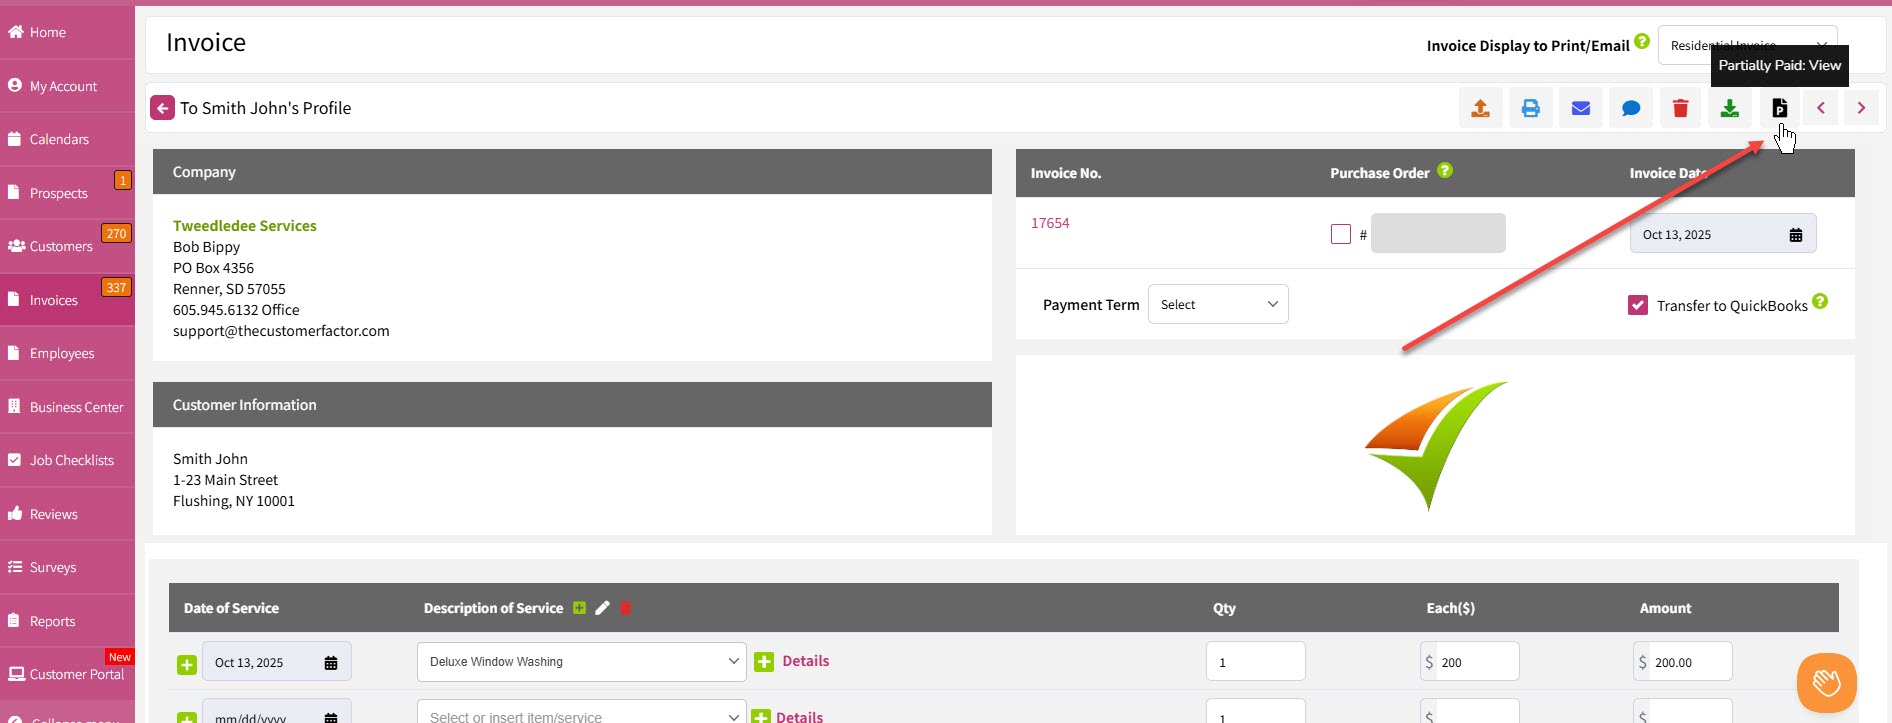
Save and Update Payment Status
Once payment is processed, you’ll be routed back to the Payment Information screen. Click Save to finalize. If the payment is not fully paid, the invoice status will display as Partially Paid when you hover in the Pay button. When the customer pays the remaining balance, click the Partially Paid button and repeat the payment steps to update the record.
That’s it! You’ve successfully created and processed an invoice. If you have any questions or need assistance, please don’t hesitate to contact our support team.
Best regards,
